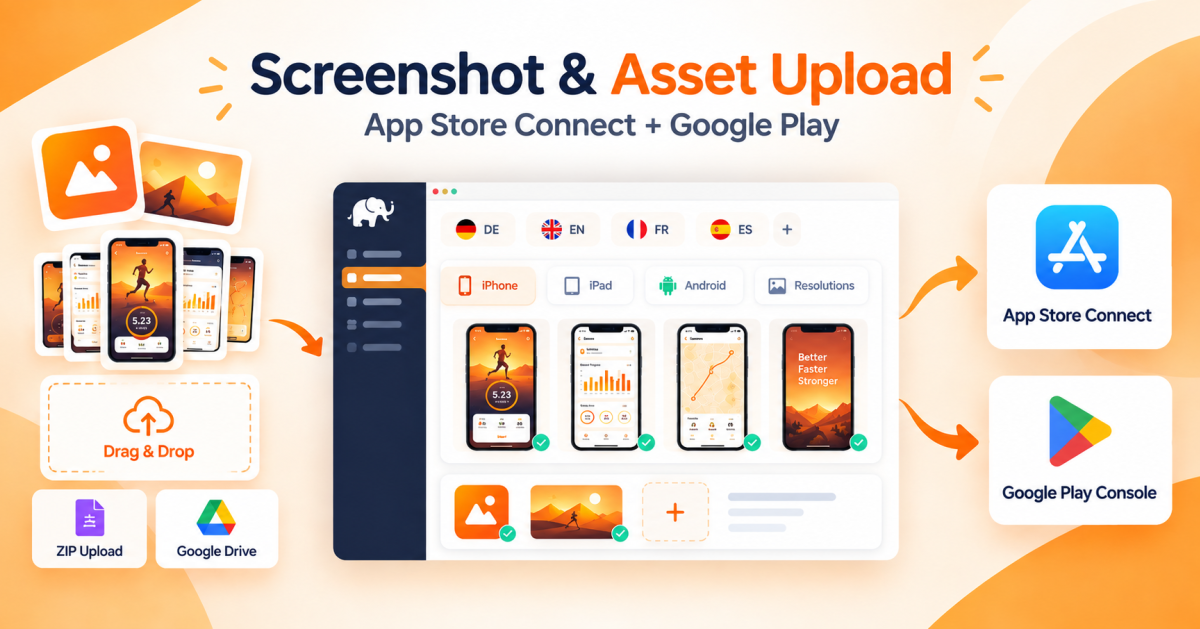
If you've ever uploaded screenshots manually to App Store Connect — selecting the right device frame, switching locale by locale, re-uploading because you used the wrong resolution — you know exactly what problem we set out to solve. Screenshots are arguably the most important visual real estate in your store listing, and the process of keeping them updated across 20+ locales and multiple device sizes has historically been tedious enough that many developers just don't bother. We built the Screenshot Manager to fix that.
Here's a proper walkthrough of how it works, including the parts that aren't obvious from the UI.
The Screenshot Manager: drag, drop, done
The core workflow is straightforward: you drag files or folders into the Screenshot Manager, and the tool figures out where they go. No manual assignment of locale, no picking a device type from a dropdown, no uploading one image at a time. You drop your entire screenshots folder and it sorts itself out.
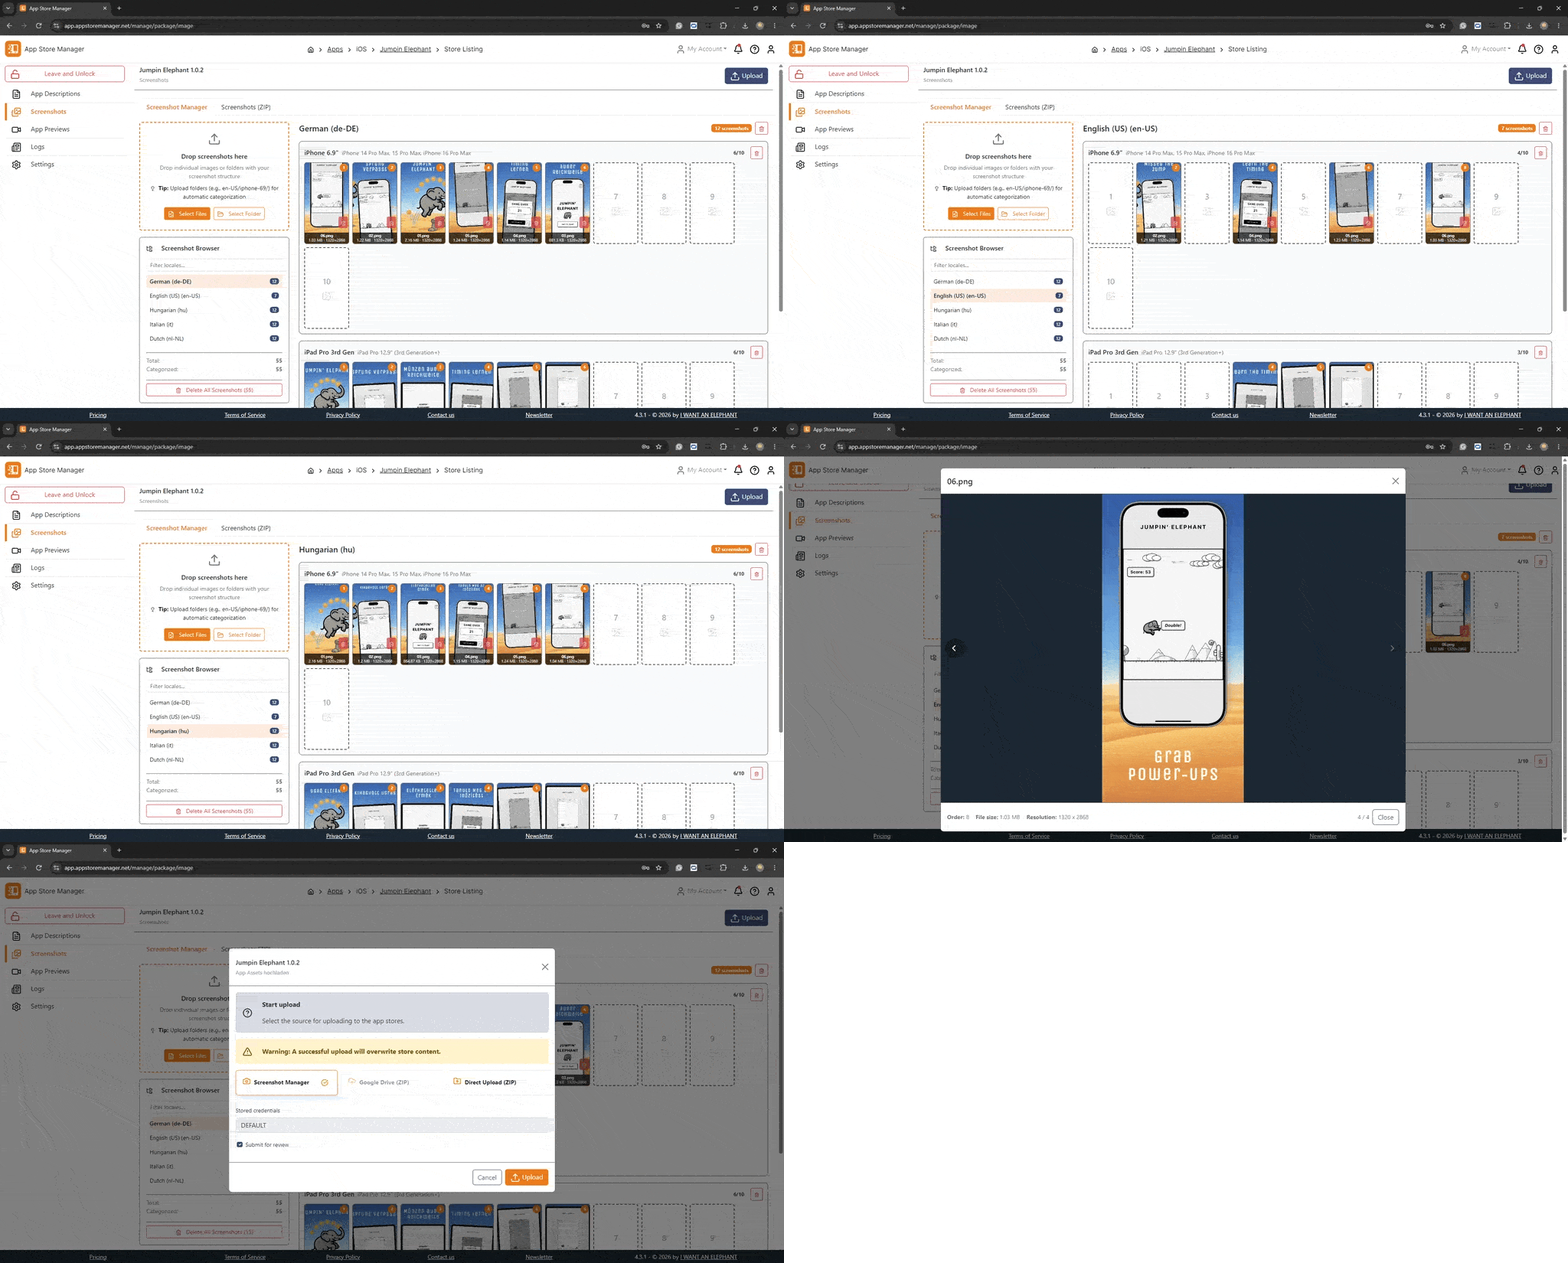
The detection that makes this work is called the Smart Recognition Engine. It runs three steps in sequence every time you drop files in.
How Smart Recognition actually works
Step 1: Language detection
The engine scans your folder path from left to right looking for locale codes. If your folder is named en-US or de-DE it picks that up immediately. But it's also flexible about naming — it recognizes over 150 language aliases, so folders named simplified, zh-cn, mandarin, or even 简体中文 all map correctly to Chinese Simplified. If the folder name doesn't match anything, it falls back to the filename itself.
Step 2: Slot assignment
The position a screenshot lands in is pulled from the filename. Files named 1.png through 10.png work directly. For more structured naming like en-US_3_1290x2796.png, it extracts the number from between the underscores. This matters because you can update specific slots without touching the others — drop only your third screenshot for every locale and it replaces just position 3, leaving everything else intact.
Step 3: Resolution detection
This one is worth paying attention to: device type is determined exclusively by the actual pixel dimensions of the image. Folder names are ignored here. If you have a file at 1290×2796px, it goes to the iPhone 6.9" slot. At 2048×2732px, iPad Pro 12.9". The tool does not guess — it reads the actual file dimensions. This means your folder structure can be as messy or as clean as you like, as long as the files themselves are the right size.
Device detection is based on actual image pixel dimensions only — folder naming conventions don't affect where screenshots are assigned.
iOS requirements at a glance
For iOS, the Screenshot Manager handles all current device sizes:
- iPhone 6.9" — 1320×2868px (iPhone 16 Pro Max)
- iPhone 6.7" — 1290×2796px (iPhone 15 Pro Max, 14 Pro Max)
- iPhone 6.5" — 1242×2688px (iPhone 11 Pro Max and earlier)
- iPhone 5.5" — 1242×2208px
- iPad Pro 12.9" — 2048×2732px
- iPad Pro 11" — 2064×2752px
Minimum 3 screenshots required per device size, maximum 10. Files should be named 1.png through 10.png, or use the underscore pattern if you're including locale and resolution info in the filename.
Android support — now with drag and drop
Version 4.3.0 brought the Screenshot Manager to Android, and it now fully matches the iOS workflow. Drop your Android screenshots and the engine handles locale detection and dimension validation the same way. Android has its own requirements — phone and tablet screenshots need to be between 320–3840px, portrait or landscape at a 9:16 or 16:9 ratio, minimum 2 and maximum 8 per device type.
Beyond screenshots, Android support also covers icons and feature graphics. Drop a 512×512px PNG and it goes to the app icon slot. A 1024×500px image lands in the feature graphic slot. No separate upload flow needed.
A few things that make day-to-day use faster
Position-based replacement
You don't have to re-upload everything every time something changes. If you're updating just your first screenshot across all locales for a new seasonal campaign, drop only those files. The engine assigns them to slot 1 based on the filename and leaves everything else untouched.
Remove all first
There's a toggle that clears all existing screenshots before uploading. Useful when you're doing a complete refresh — turning this on means you start from a clean slate rather than filling in individual slots over existing content.
Manual assignment for uncategorized files
If the engine can't identify a file — wrong dimensions, ambiguous filename, unusual folder structure — it lands in an "Uncategorized" section where you can assign it manually. It doesn't fail silently and it doesn't make a guess that might be wrong.
App Preview videos
The same drag-and-drop workflow covers app preview videos for App Store Connect. The Smart Recognition Engine handles locale and slot detection the same way it does for screenshots — folder structure for locale, filename number for position, actual video frame dimensions for device assignment.
The technical requirements are specific: H.264 or ProRes 422, 15–30 seconds, up to 500 MB, max 30fps. Audio at 256 kbps AAC stereo. App Store Connect allows up to 3 previews per device size per locale, and you can reorder them by dragging within the interface after upload.
One important note: video previews are iOS and App Store Connect only. Google Play handles video differently (YouTube links rather than direct file uploads), so this part of the workflow is Apple-specific.
Three ways to upload
The drag-and-drop Screenshot Manager is the recommended approach for most workflows, but there are two alternatives worth knowing about:
- Direct ZIP upload — For automated pipelines where you're generating screenshots programmatically and want to push them without any manual steps. Requires exact folder hierarchy matching the official templates; Smart Recognition is not active here.
- Google Drive provisioning — Upload a template-based ZIP to Google Drive (shared with Viewer permissions) and App Store Manager pulls from there. Useful if your screenshots are already in Drive as part of your asset workflow.
What the last few updates have changed
The screenshot tooling has moved fast over the past year or so. The headline additions:
- v4.3.0 (September 2026) — Android Screenshot Manager with full drag-and-drop support; Android icon and feature graphic uploads added
- v4.2.2 (April 2026) — 11 new iOS locales added to Smart Recognition; native script aliases now supported
- v4.2.0 (March 2026) — App Preview video upload launched (iOS); screenshot reordering by drag within slots
- v3.3.1 (April 2024) — Google Play Console screenshot uploads approximately 10x faster
- v3.1.0 (December 2023) — iOS upload rewritten: 50% faster transfers, validation improvements
If you've been using the tool for a while, the Android drag-and-drop is probably the most significant recent addition — it closes the last meaningful gap between the iOS and Android experiences in the upload flow.
Getting started
The full documentation for the Screenshot Manager, including the complete list of supported resolutions, locale alias reference, and ZIP template files, is at docs.appstoremanager.net. If you haven't tried the drag-and-drop upload yet, the fastest way to see it is to drop a folder of your existing screenshots in and watch the recognition engine sort them.
And if something lands in Uncategorized — check the filename numbering first. That's almost always where it comes from.